Current Article
How to Create a Form QR Code
How to Create a Form QR Code
Step-by-step instructions on creating interactive forms with QR codes for data collection.
The Form feature allows you to create interactive QR codes that collect customer information directly through a mobile form. This is perfect for gathering contact details, feedback, inquiries, survey responses, and more.
With Lifetime QR Codes's Form feature, you can easily create customizable forms that appear when users scan your QR code, making data collection seamless and efficient.
Video Tutorial: Step-by-step guide to creating Form QR Codes
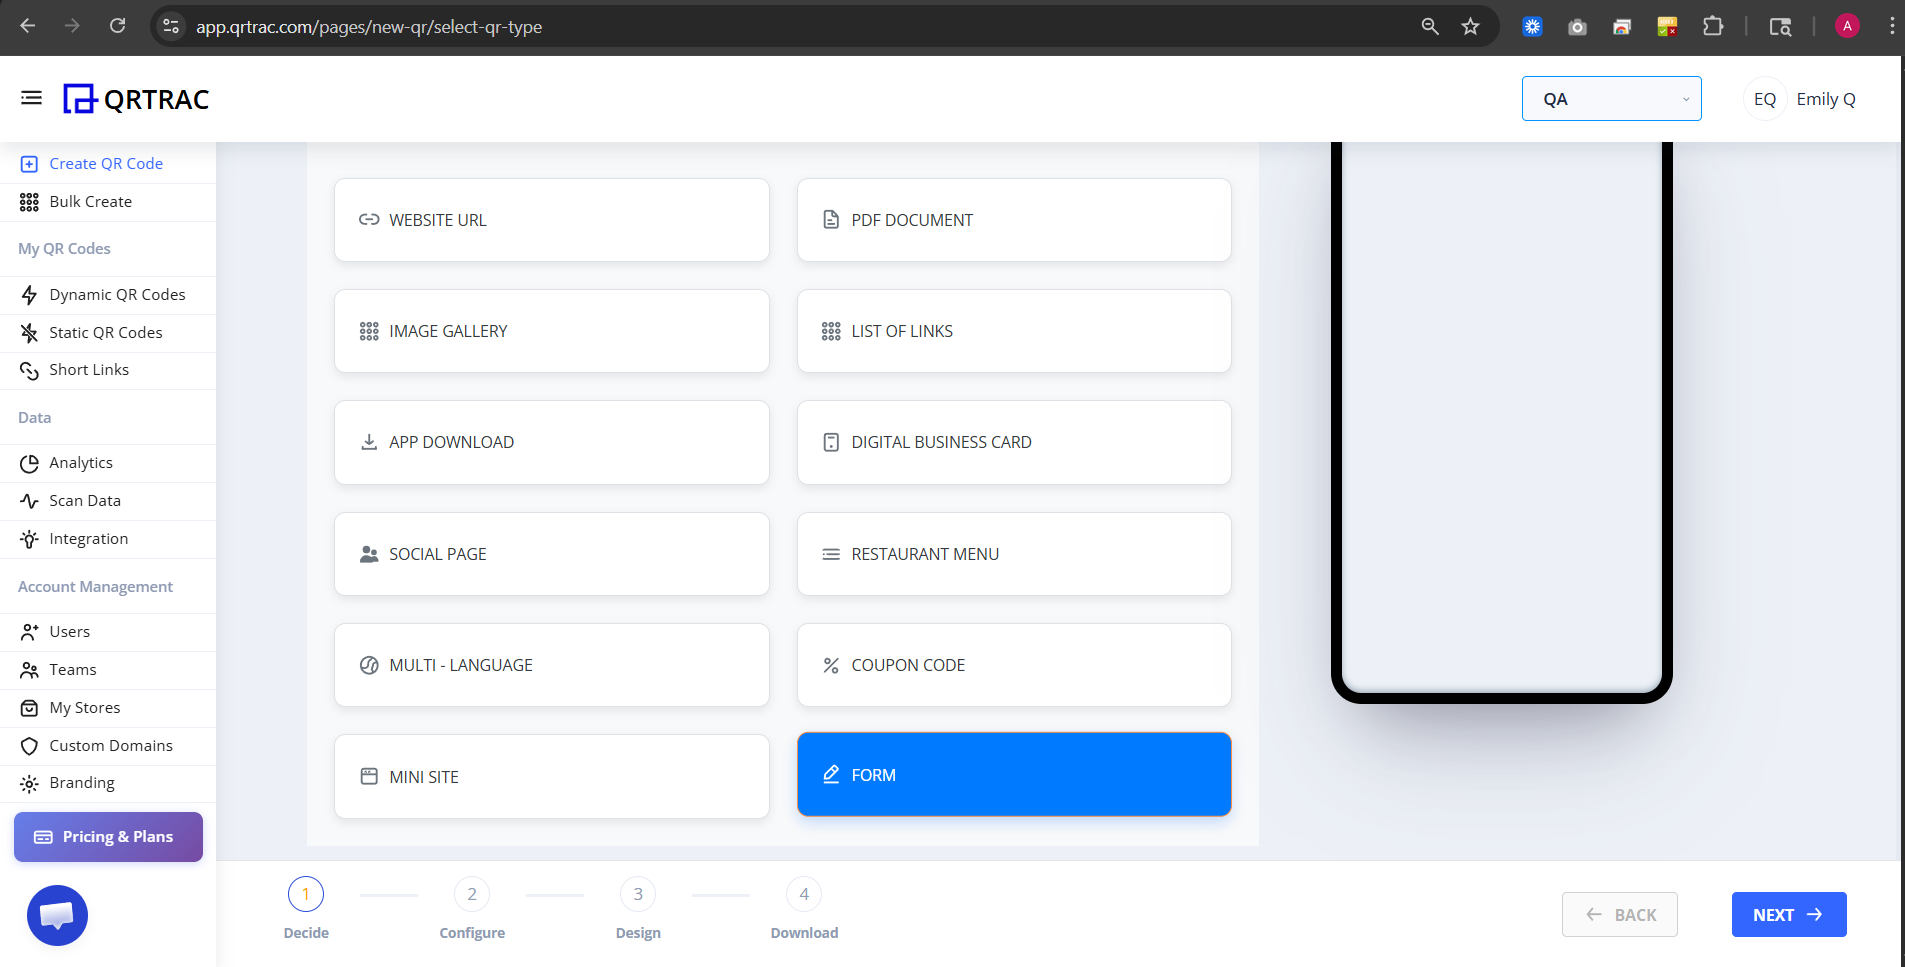
Step 1: Select the Form QR Type
Click on Create QR Code from your dashboard. You'll see various QR code types available. Locate and click on the FORM option, which is highlighted in blue. The Form QR type is perfect for collecting customer information in a structured way.
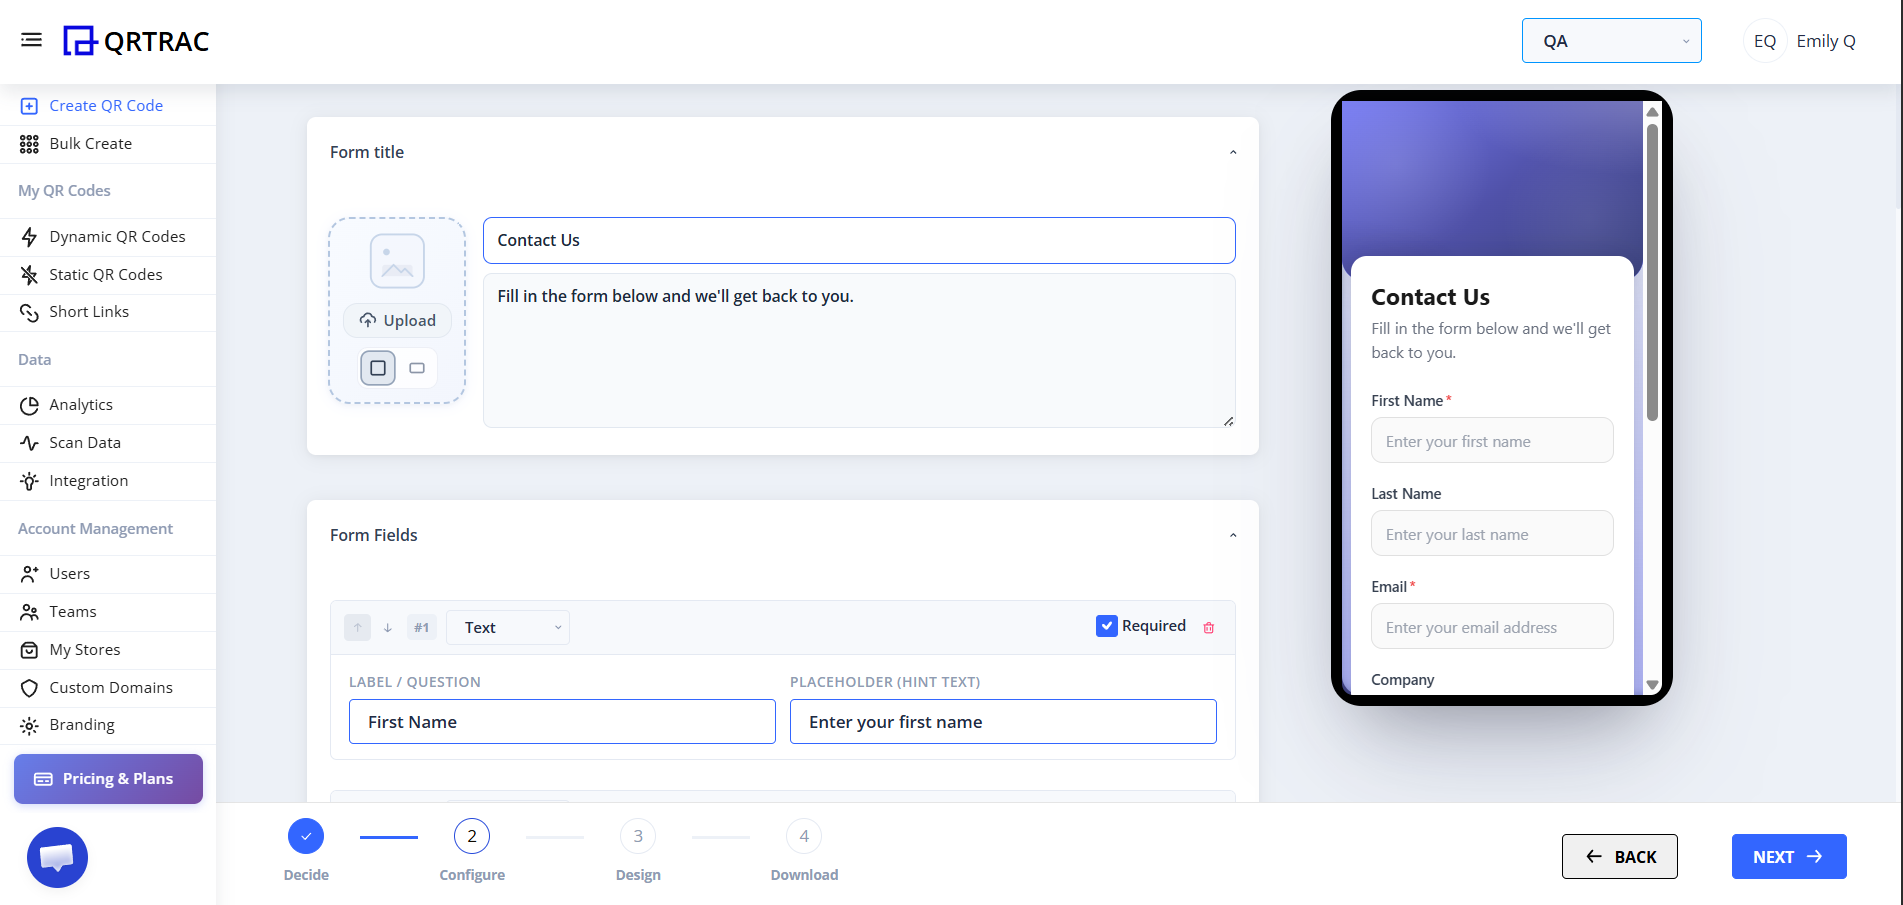
Step 2: Configure Form Title and Description
In the Form Configuration section:
- Enter a Form Title - This is the main heading users will see (e.g., "Contact Us")
- Add a Description - Provide instructions or context (e.g., "Fill in the form below and we'll get back to you.")
- Optionally upload an Image or Logo - Click the Upload button to add a banner image
- Review the preview on the right side to see how it will appear on mobile devices
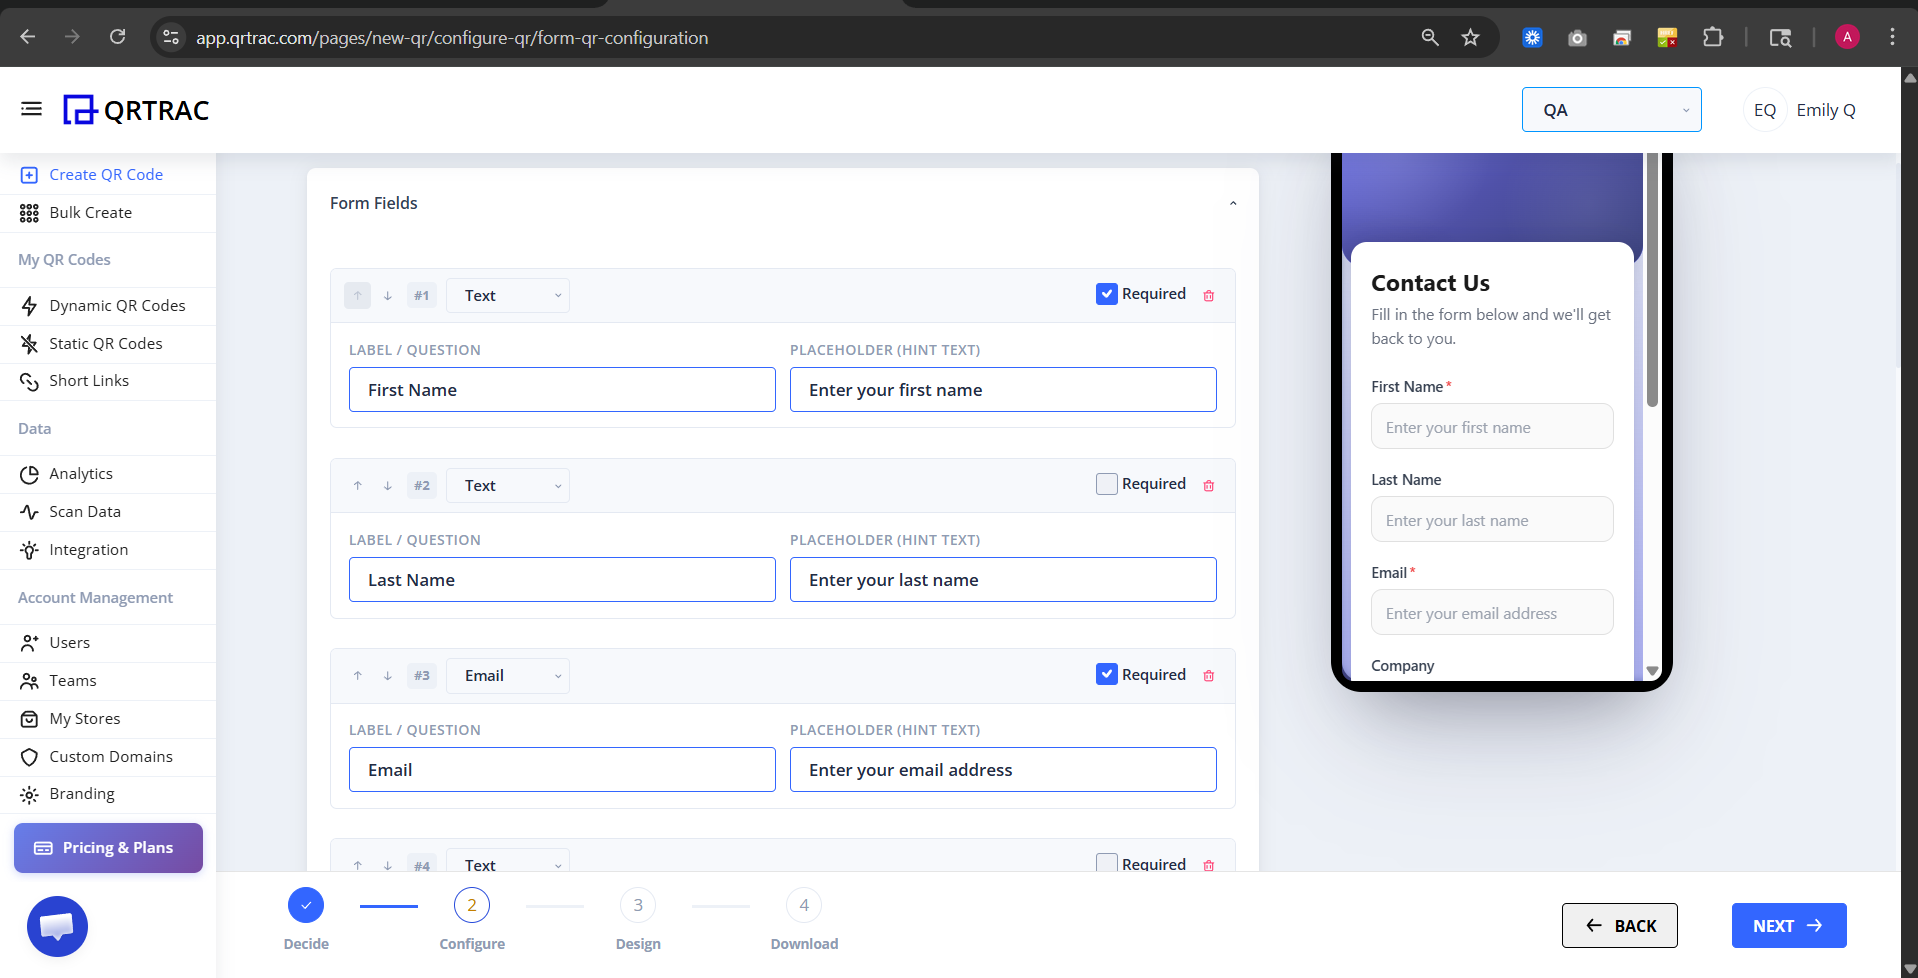
Step 3: Add and Configure Form Fields
In the Form Fields section, click the + button to add fields. For each field, you can:
- Add a Label/Question (e.g., "First Name")
- Add Placeholder/Hint Text (e.g., "Enter your first name")
- Mark the field as Required by checking the checkbox
Example form structure:
- First Name (Text, Required)
- Last Name (Text)
- Email (Email, Required)
- Phone (Phone)
- Company (Text)
- Message (Message)
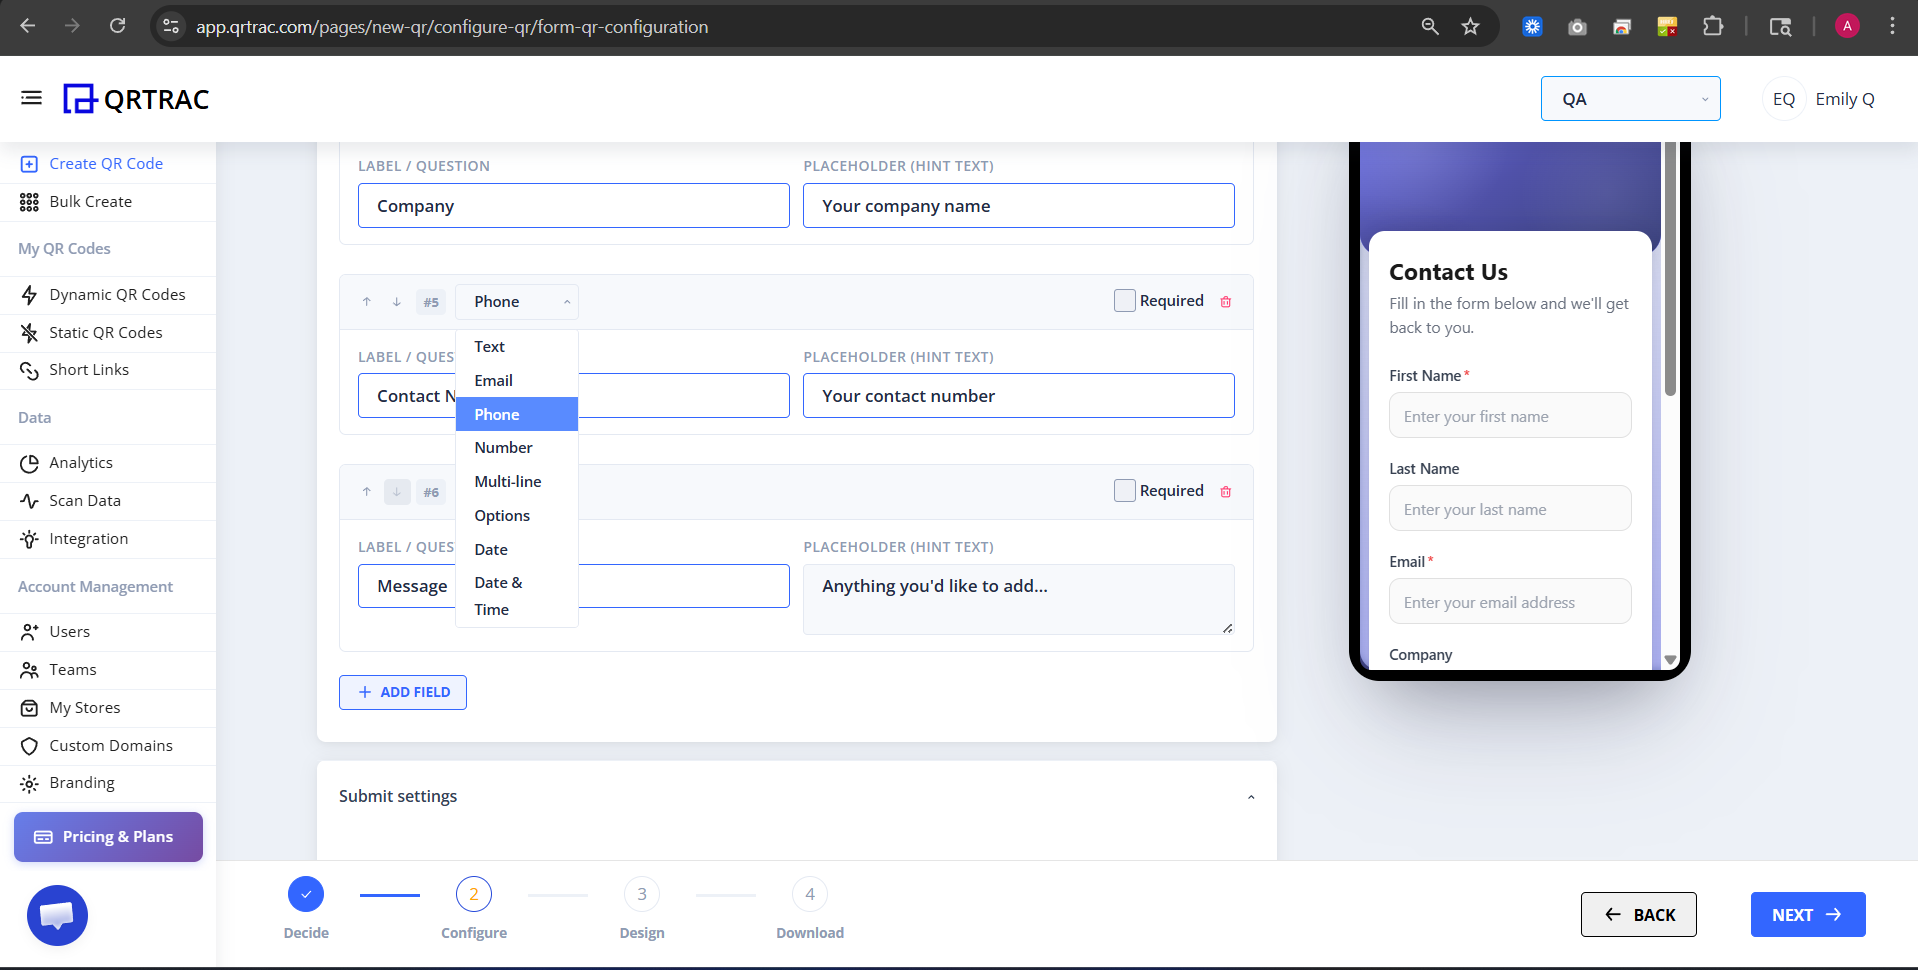
Step 4: Configure Field Types and Submit Settings
You can add various field types to your form:
- Text - Single line text input
- Email - Email address input
- Phone - Phone number input
- Message - Multi-line text area
- Dropdown - Select from predefined options
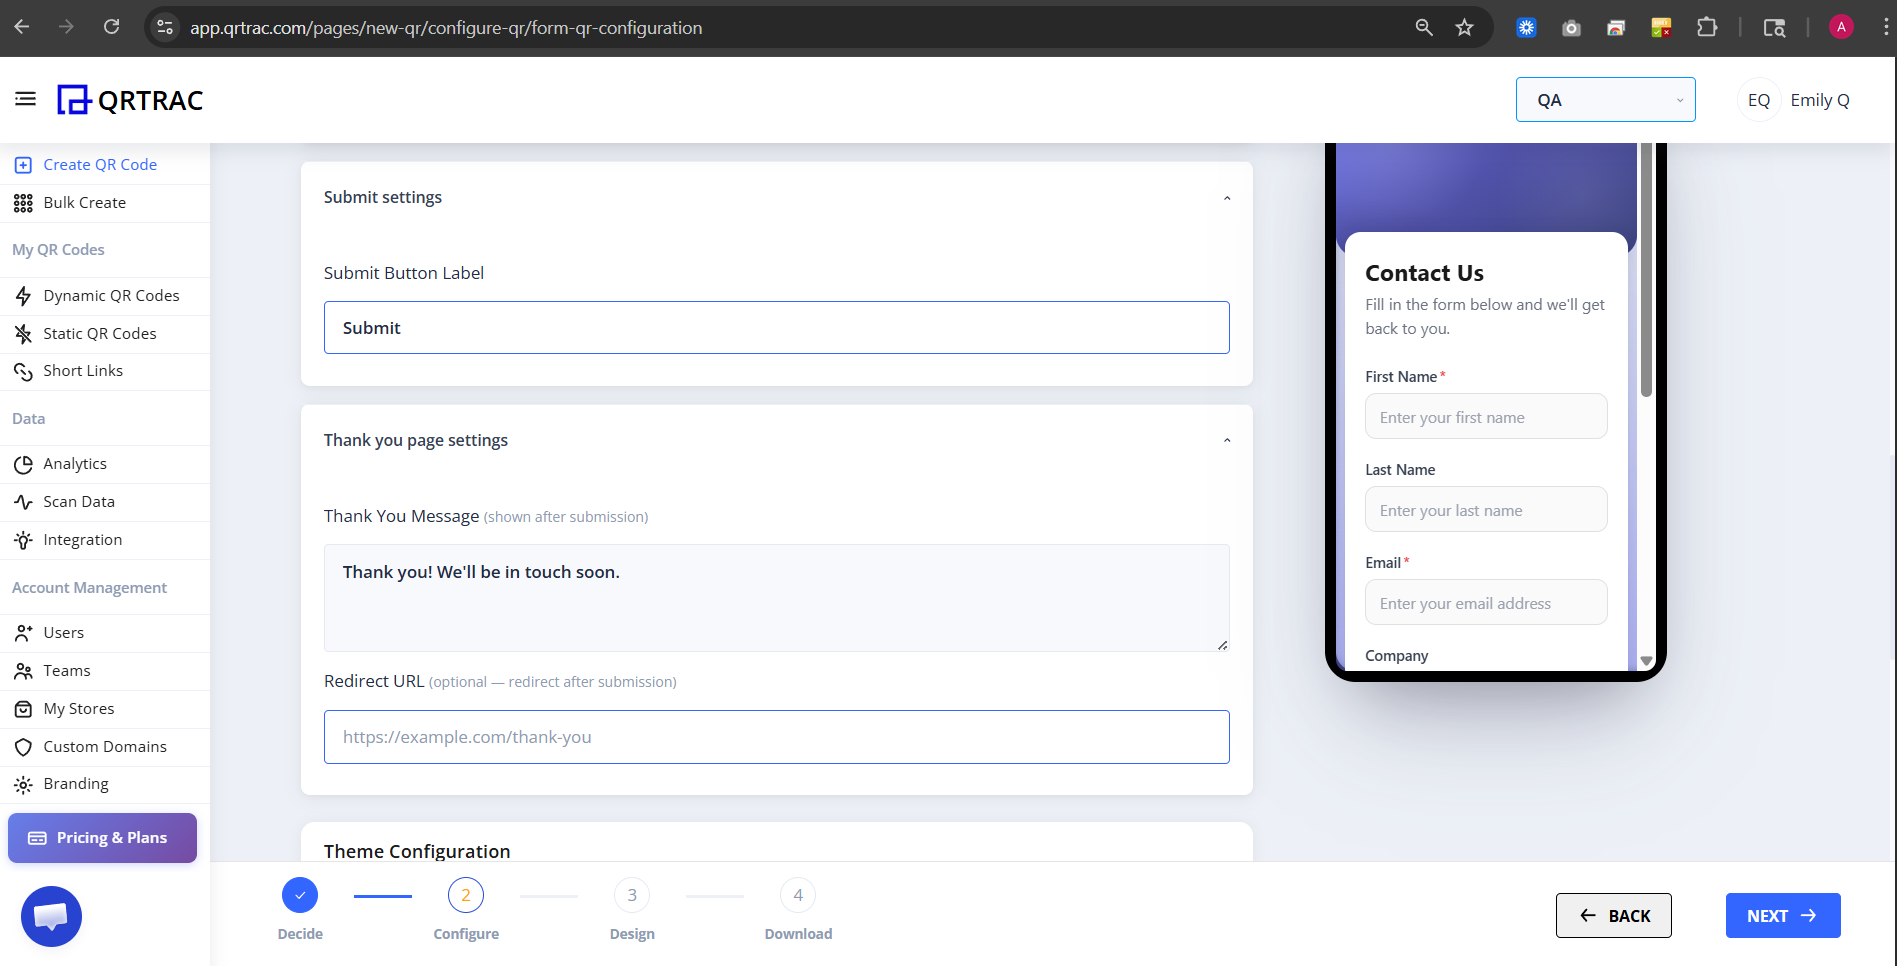
Step 5: Configure Submit Settings
In the Submit Settings section:
- Customize Submit Button Label - Change the button text (default: "Submit"). Examples: "Send", "Get in Touch", "Subscribe"
- Add a Thank You Message - This appears after submission (e.g., "Thank you! We'll be in touch soon.")
- Set Redirect URL (Optional) - Direct users to a page after submission (e.g., "https://example.com/thank-you")
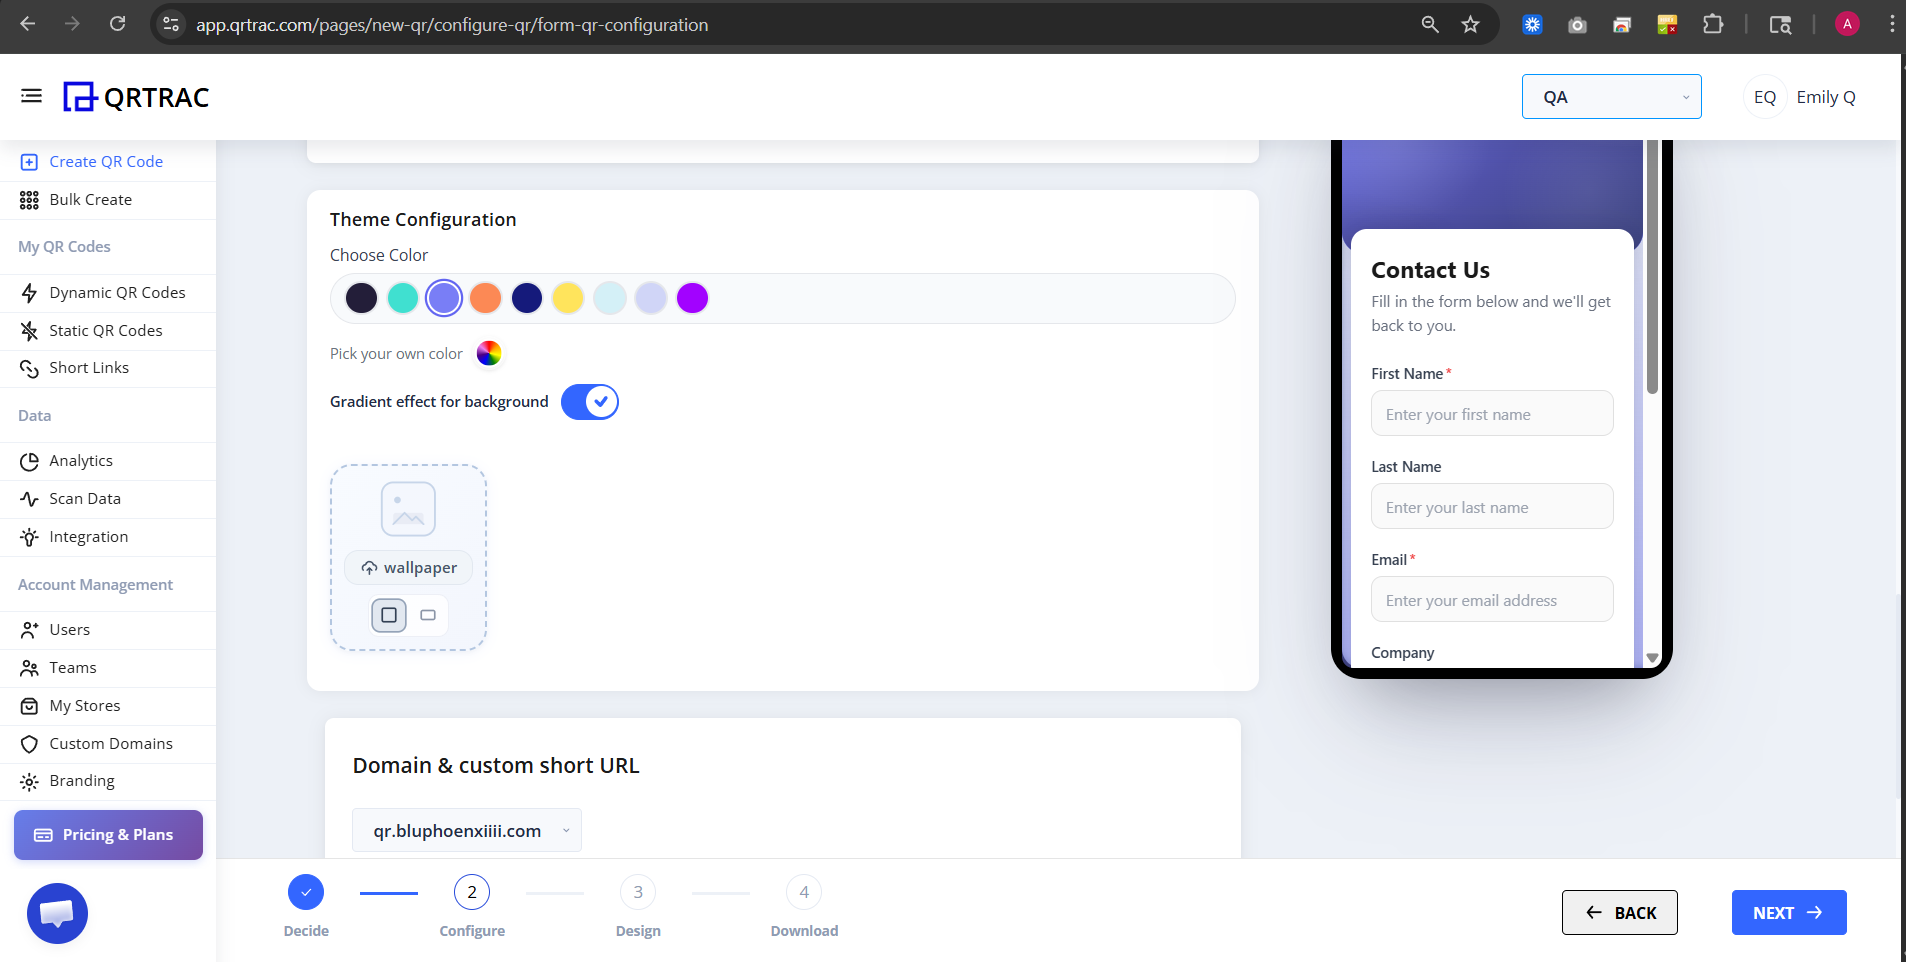
Step 6: Customize Theme and Colors
In the Theme Configuration section:
- Choose a background color for your form by clicking on the color palette
- Select from available color options or create a custom color
- Toggle "Match color to background" to automatically adjust text colors
- Preview your color selection on the right side of the screen
Step 7: Configure Domain and Custom URL
Your form will have a default domain URL (qrcodes.Lifetime QR Codes.com). You can optionally enable Custom Short URL to create a branded short link. This makes your shareable link more memorable and professional.
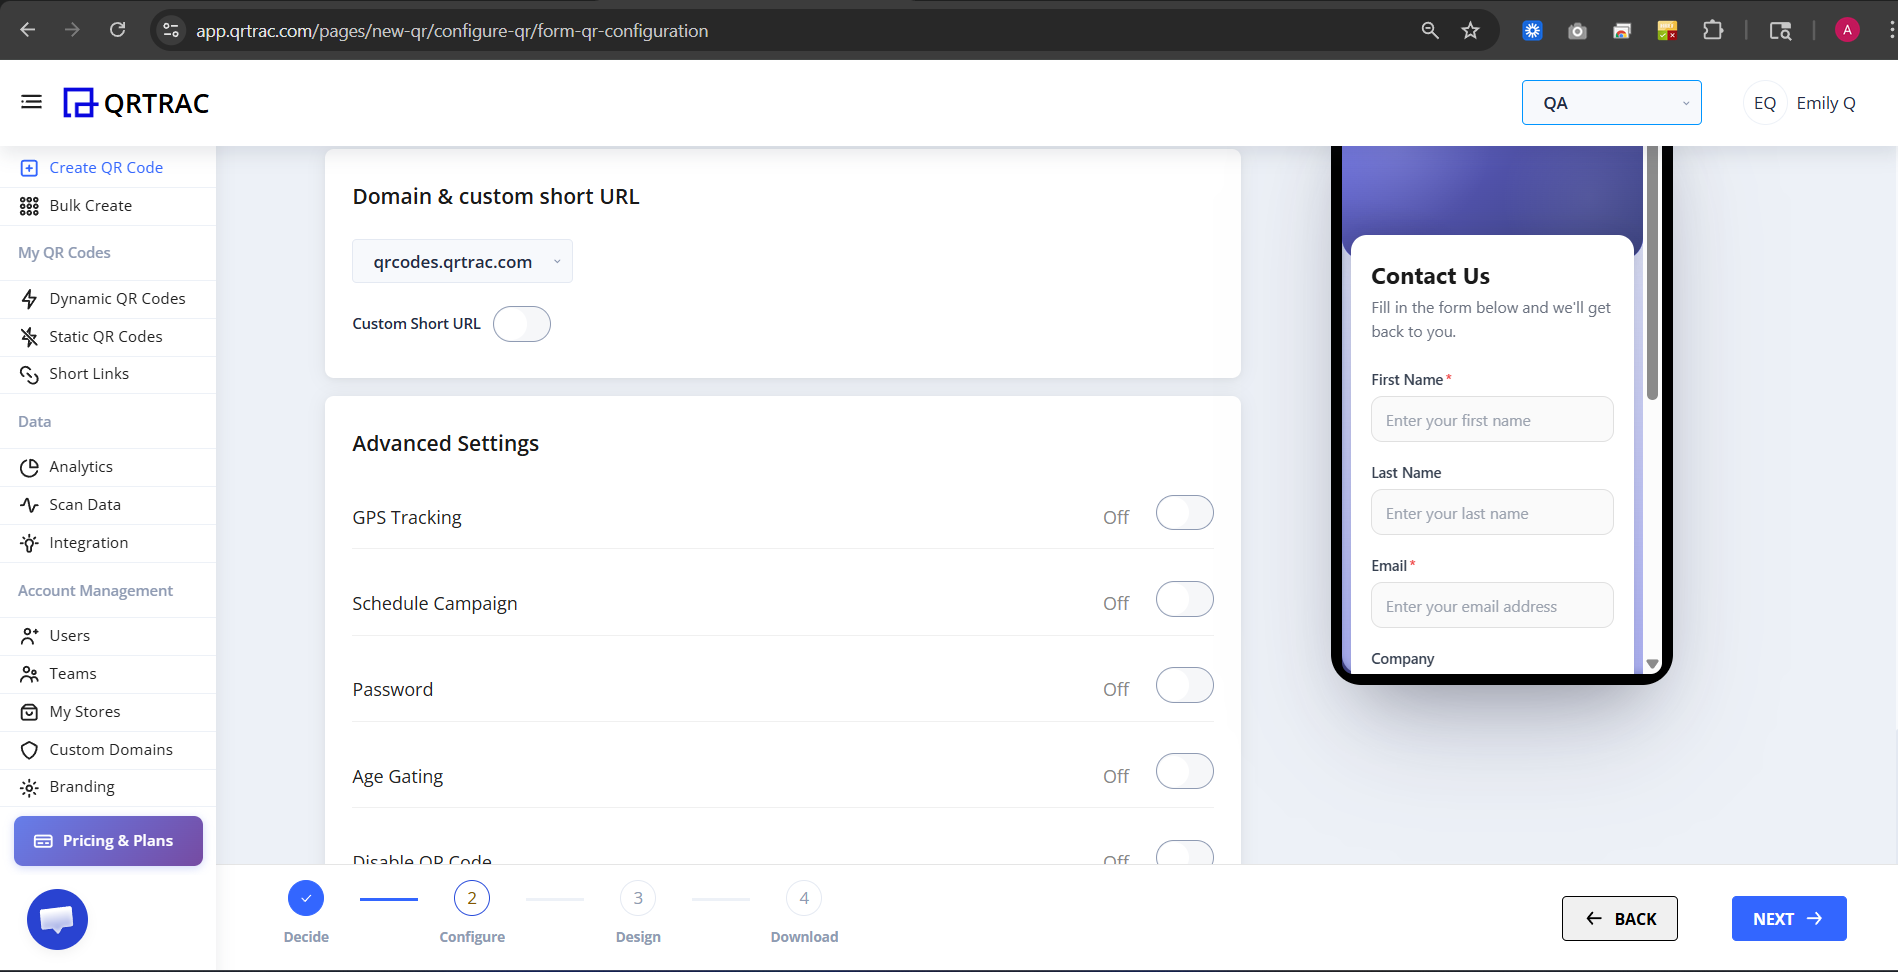
Step 8: Access Advanced Settings
Expand the Advanced Settings section to access optional features:
- GPS Tracking - Track where the QR code is scanned
- Schedule Campaign - Set date ranges for when the form is active
- Password - Protect your form with a password
- Age Gating - Restrict access to a specific age group
- Display QR Code - Show the QR code on the form page
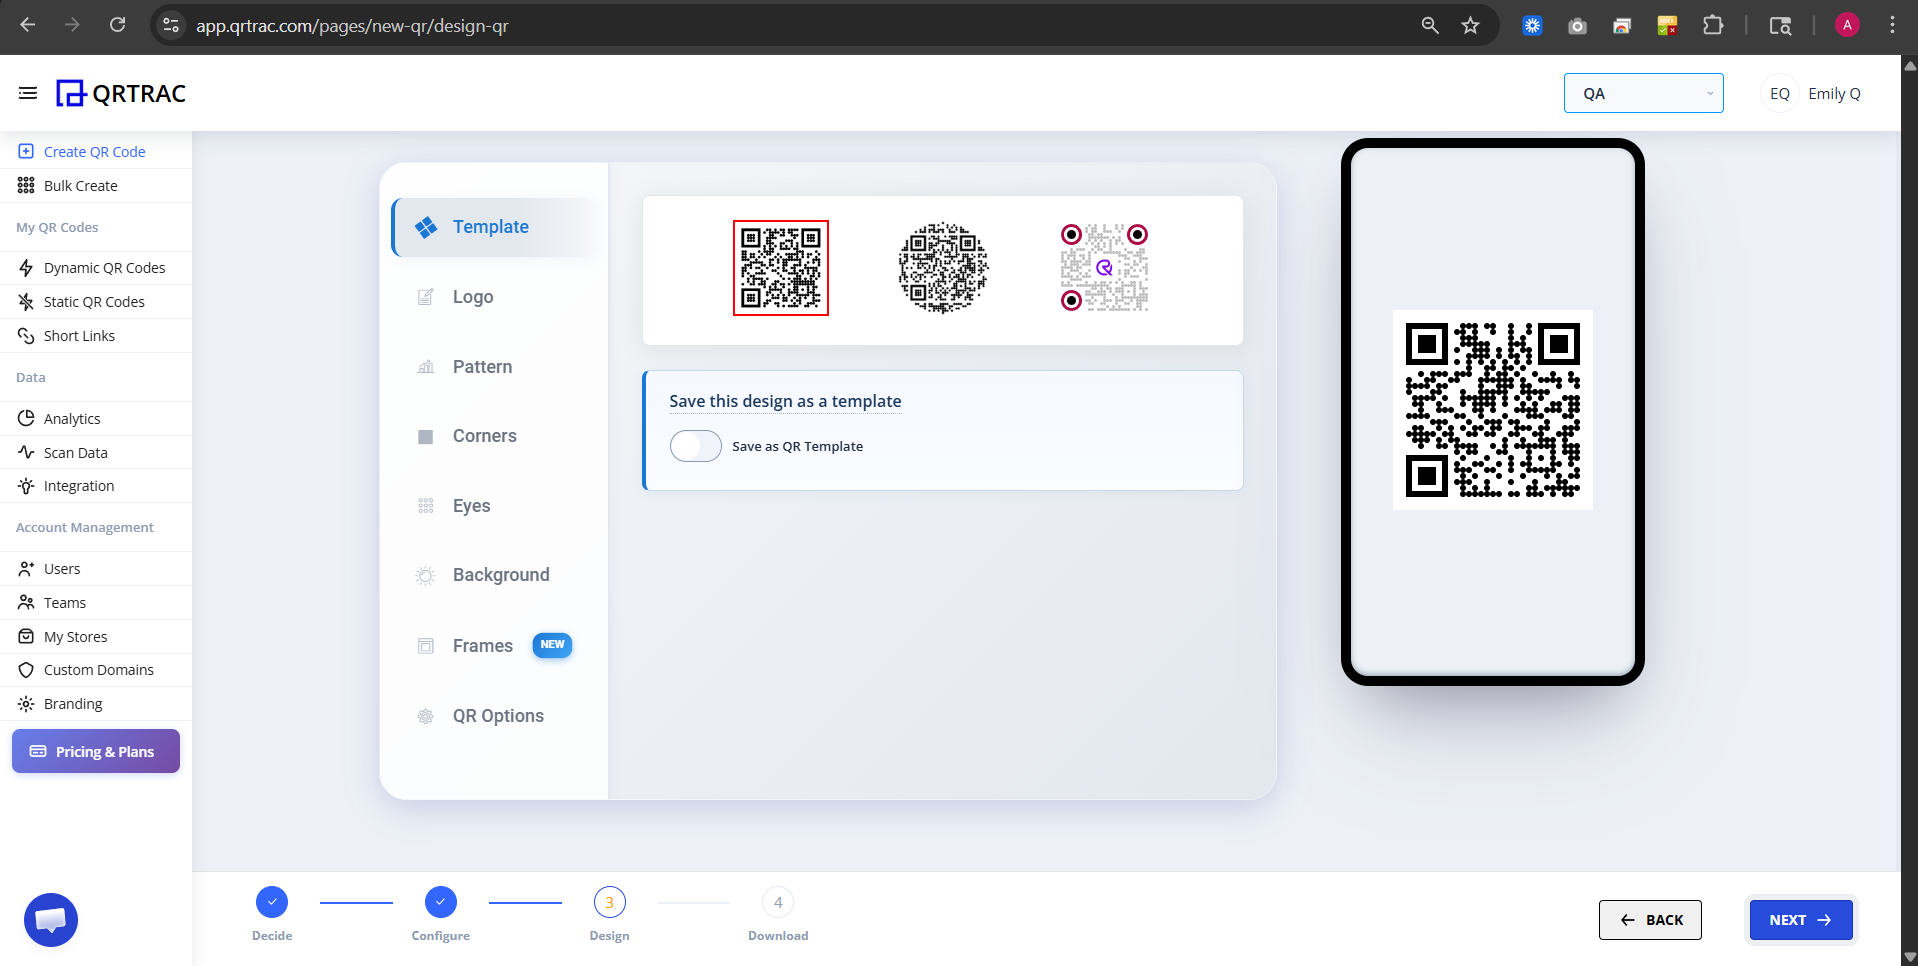
Step 9: Choose Design Template
In the Design section, browse through available form templates. Each template shows a preview of how your form will look. Select the template that best matches your brand style. Your form preview with the QR code will be displayed on the right.
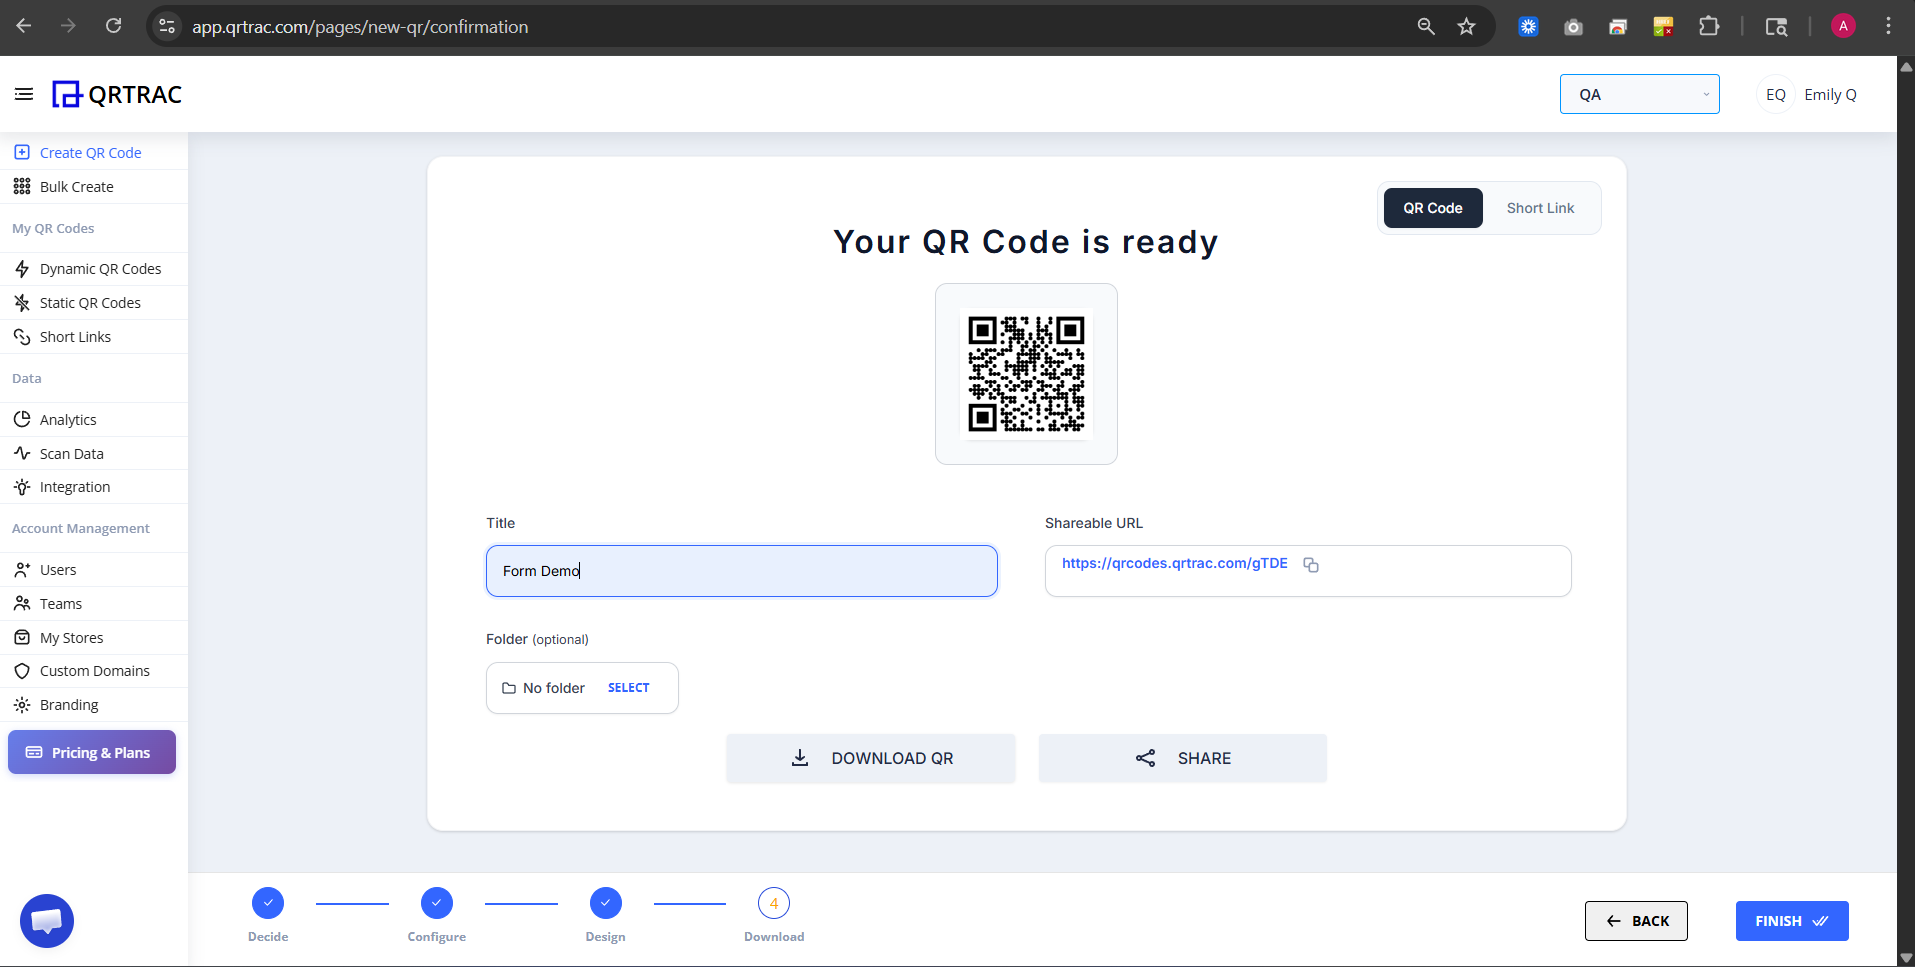
Step 10: Review and Download Your QR Code
After completing all settings, click the NEXT button. You'll see the message "Your QR Code is ready" with your generated QR code. The Shareable URL is provided for easy distribution.
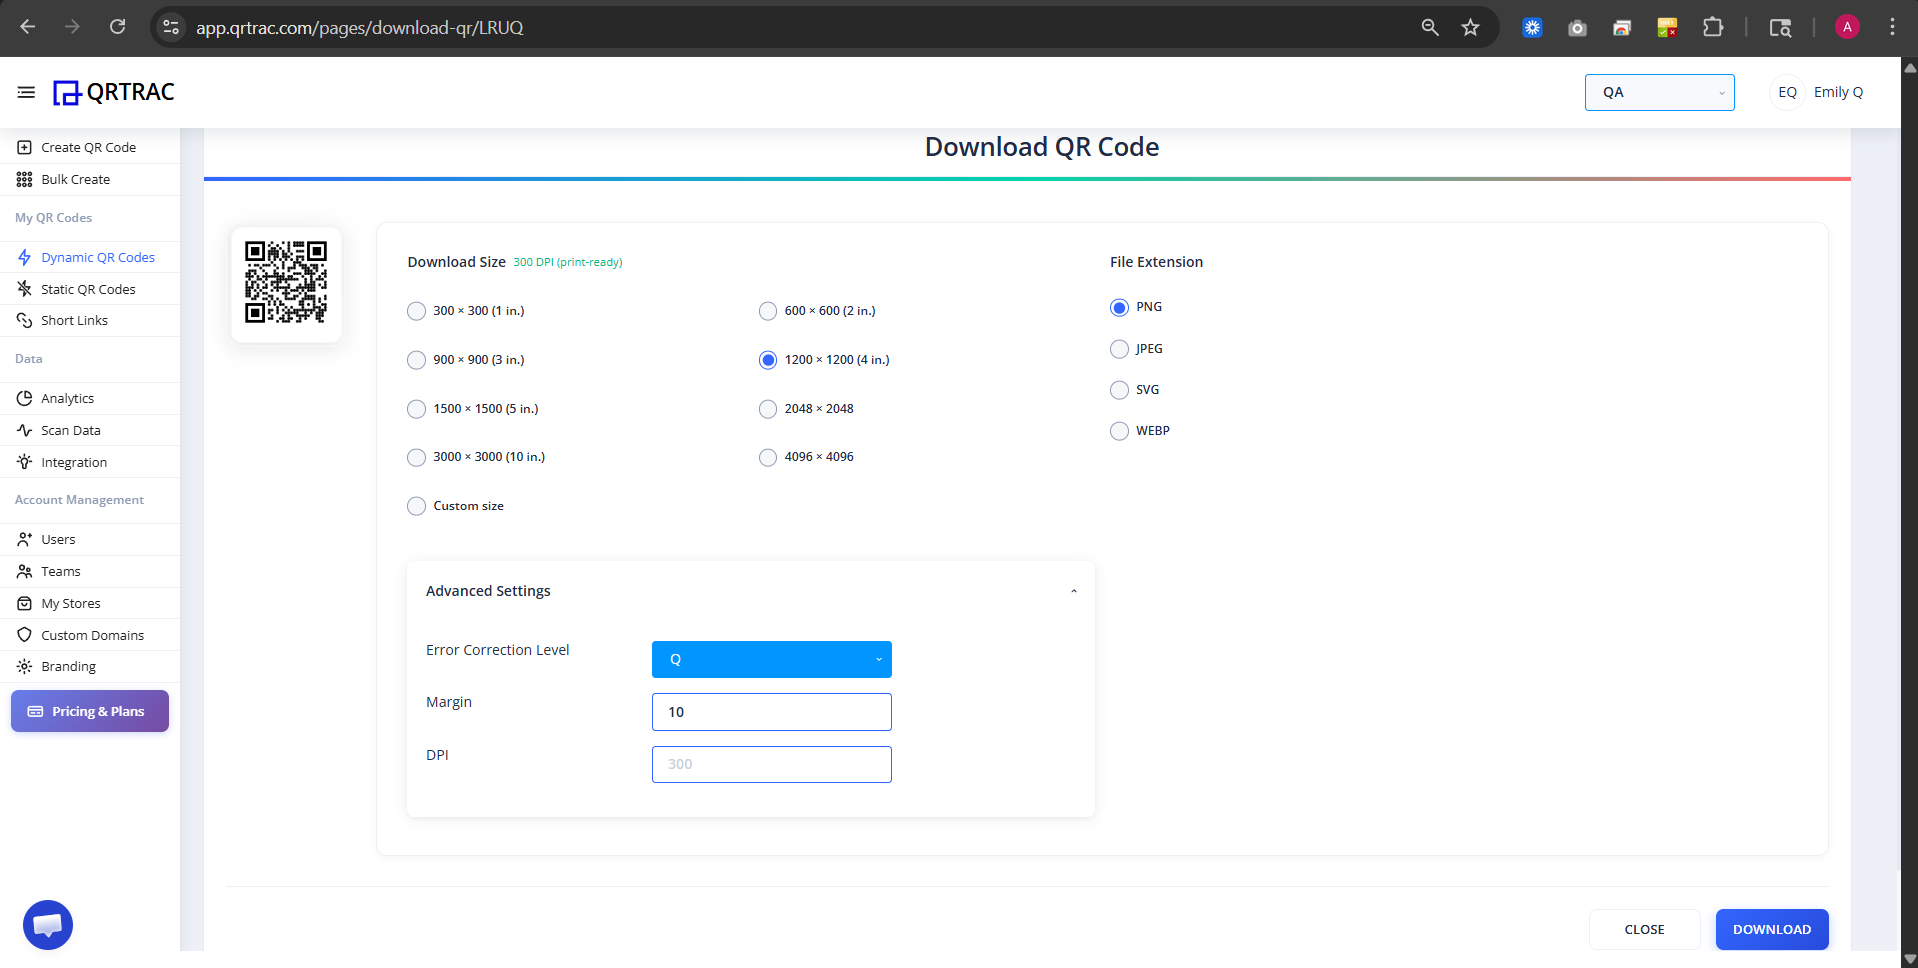
Download Options
On the Download page, you can customize your QR code:
- Download Size - Choose from 300×300 (1 in.) to 3000×3000 (10 in.) or custom size
- File Format - Select PNG, JPEG, SVG, or WEBP
- Advanced Settings:
- Error Correction Level - Set error tolerance (Q is recommended)
- Margin - Add white space around the QR code
- DPI - Set resolution for printing
Pro Tip
Keep your forms short (under 10 fields) for better engagement. Test on mobile devices before deployment, and always include a thank you message for better user experience.
Real-World Mobile Examples
Here's how your Form QR code will look to users when they scan it on their mobile device:
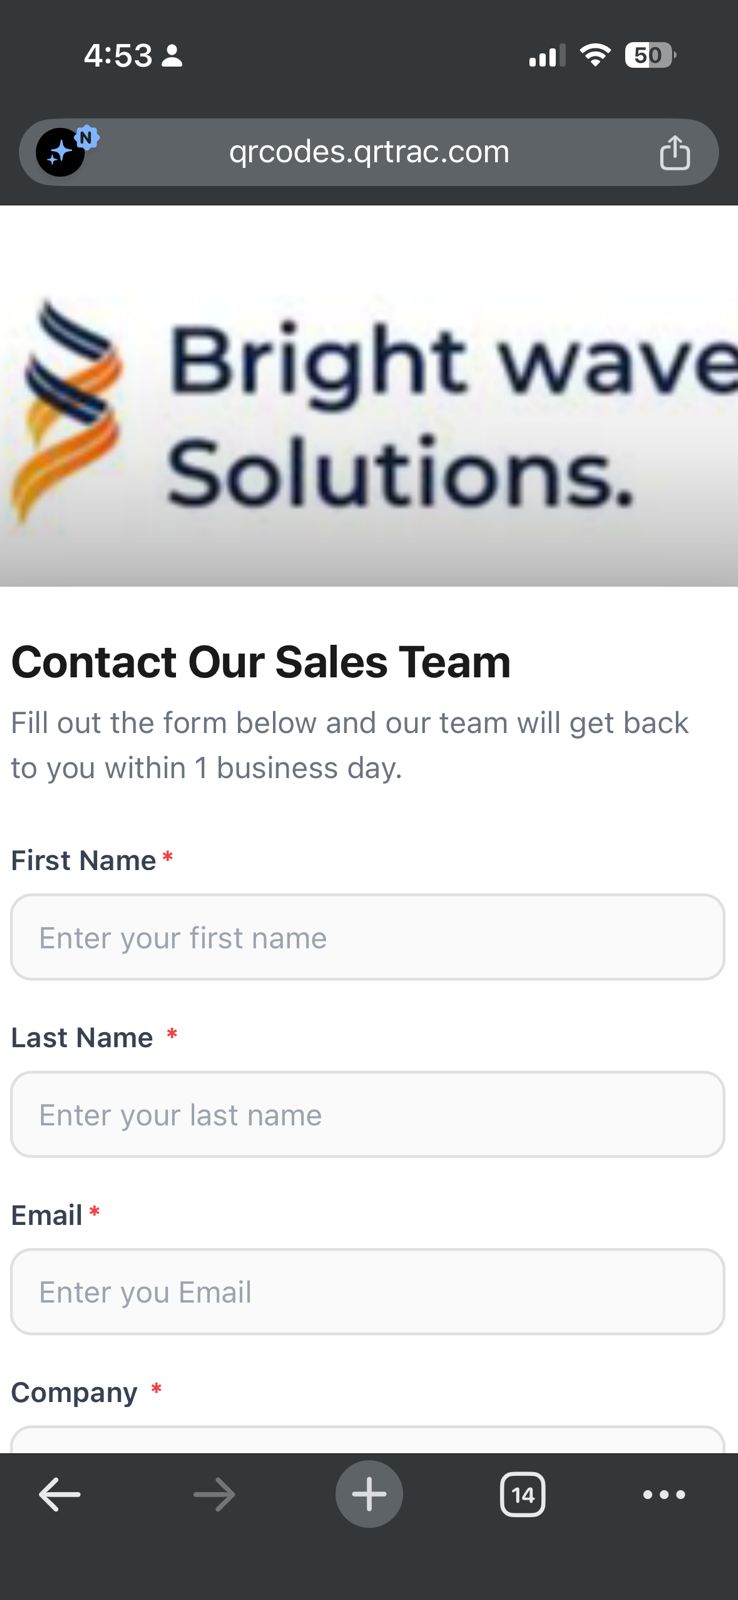
Header & Title
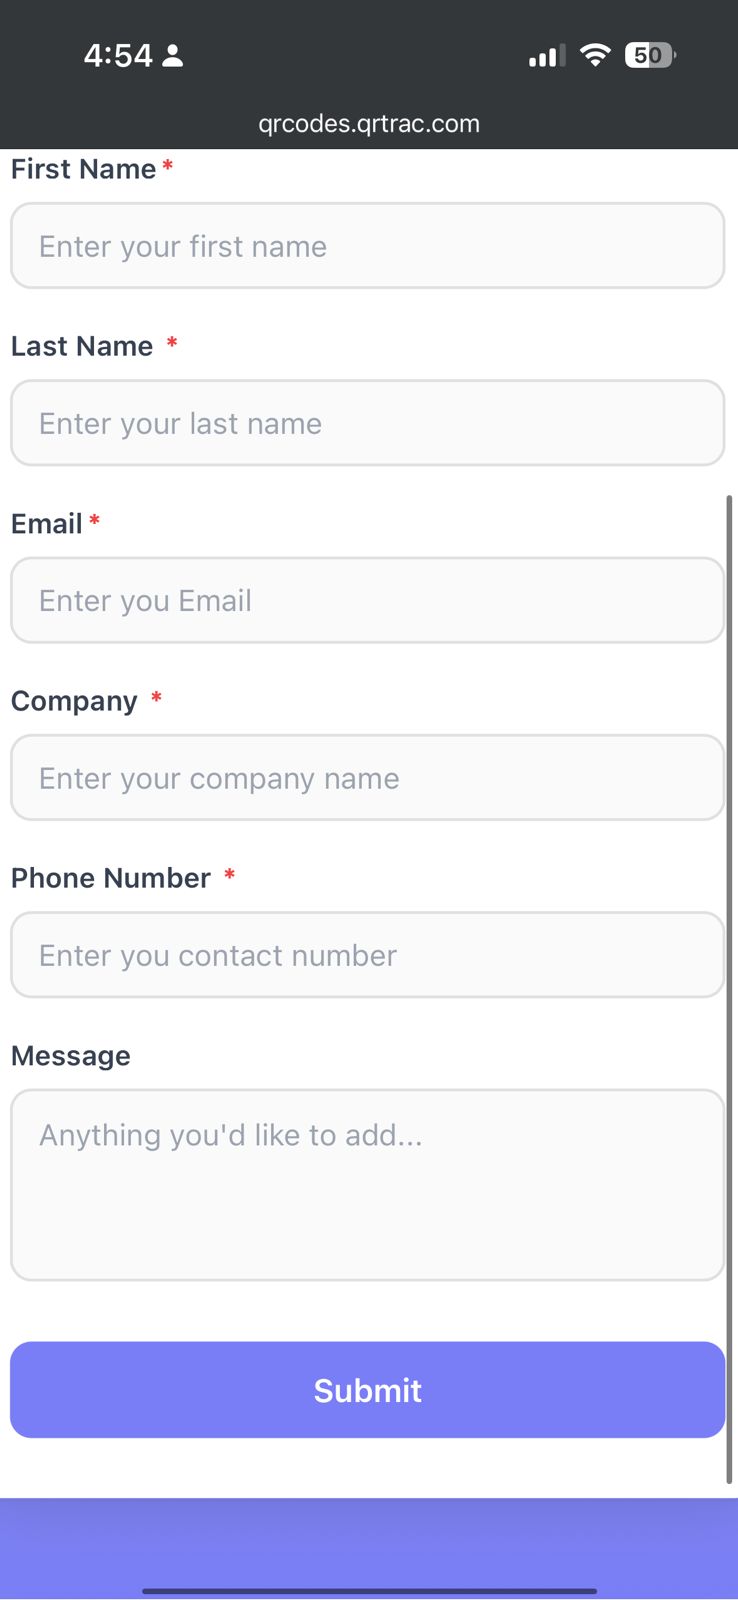
Fields & Submit
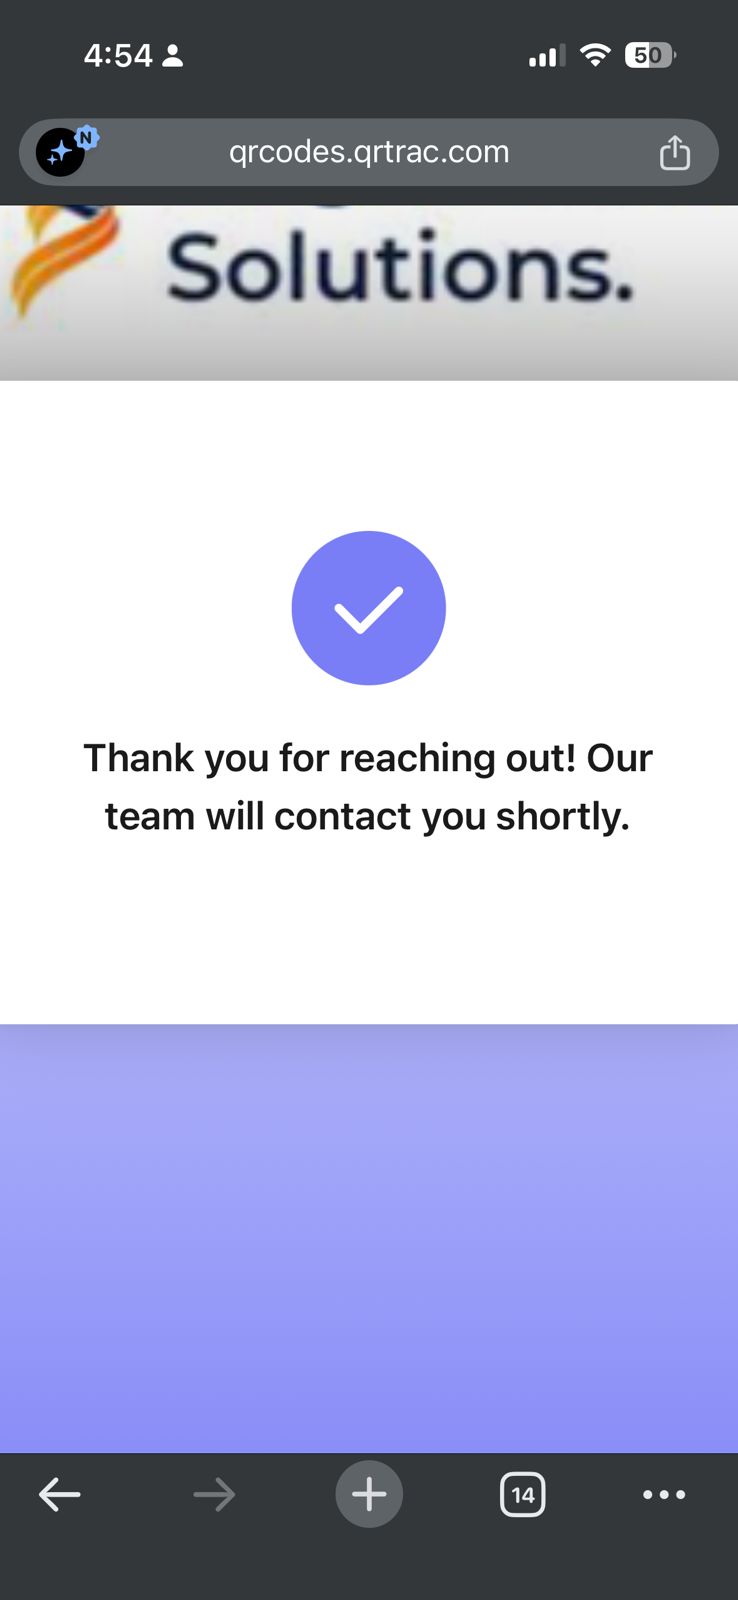
Thank You Page