Current Article
How To Create Mini Site QR Code
How To Create Mini Site QR Code
Create a branded mobile landing page with your logo, links, and contact info attached to a QR code — no coding required. Step-by-step guide for Lifetime QR Codes.
If you want users to open a custom landing page, digital profile, or hosted mini website by scanning a QR code, this guide is for you. Upload any static HTML website as a ZIP file and Lifetime QR Codes hosts it — no separate web hosting needed.
- Creating a digital business card landing page
- Sharing a product landing page
- Running offline marketing campaigns
- Hosting a portfolio or profile
- Sharing information without a full website
- Wanting to track scans and engagement
Before You Start
Before creating your Mini Site QR code, make sure your ZIP file is ready:
- You have your mini website files ready (HTML, CSS, JS, images)
- Your site works correctly when opened locally
- Your main file is named
index.html - All files are inside one folder, then compressed to a .ZIP
File Structure Matters
Lifetime QR Codes hosts your mini site exactly as uploaded. If index.html is inside a subfolder, or if asset files are missing from the ZIP, the page will break.
Step 1: Login & Start
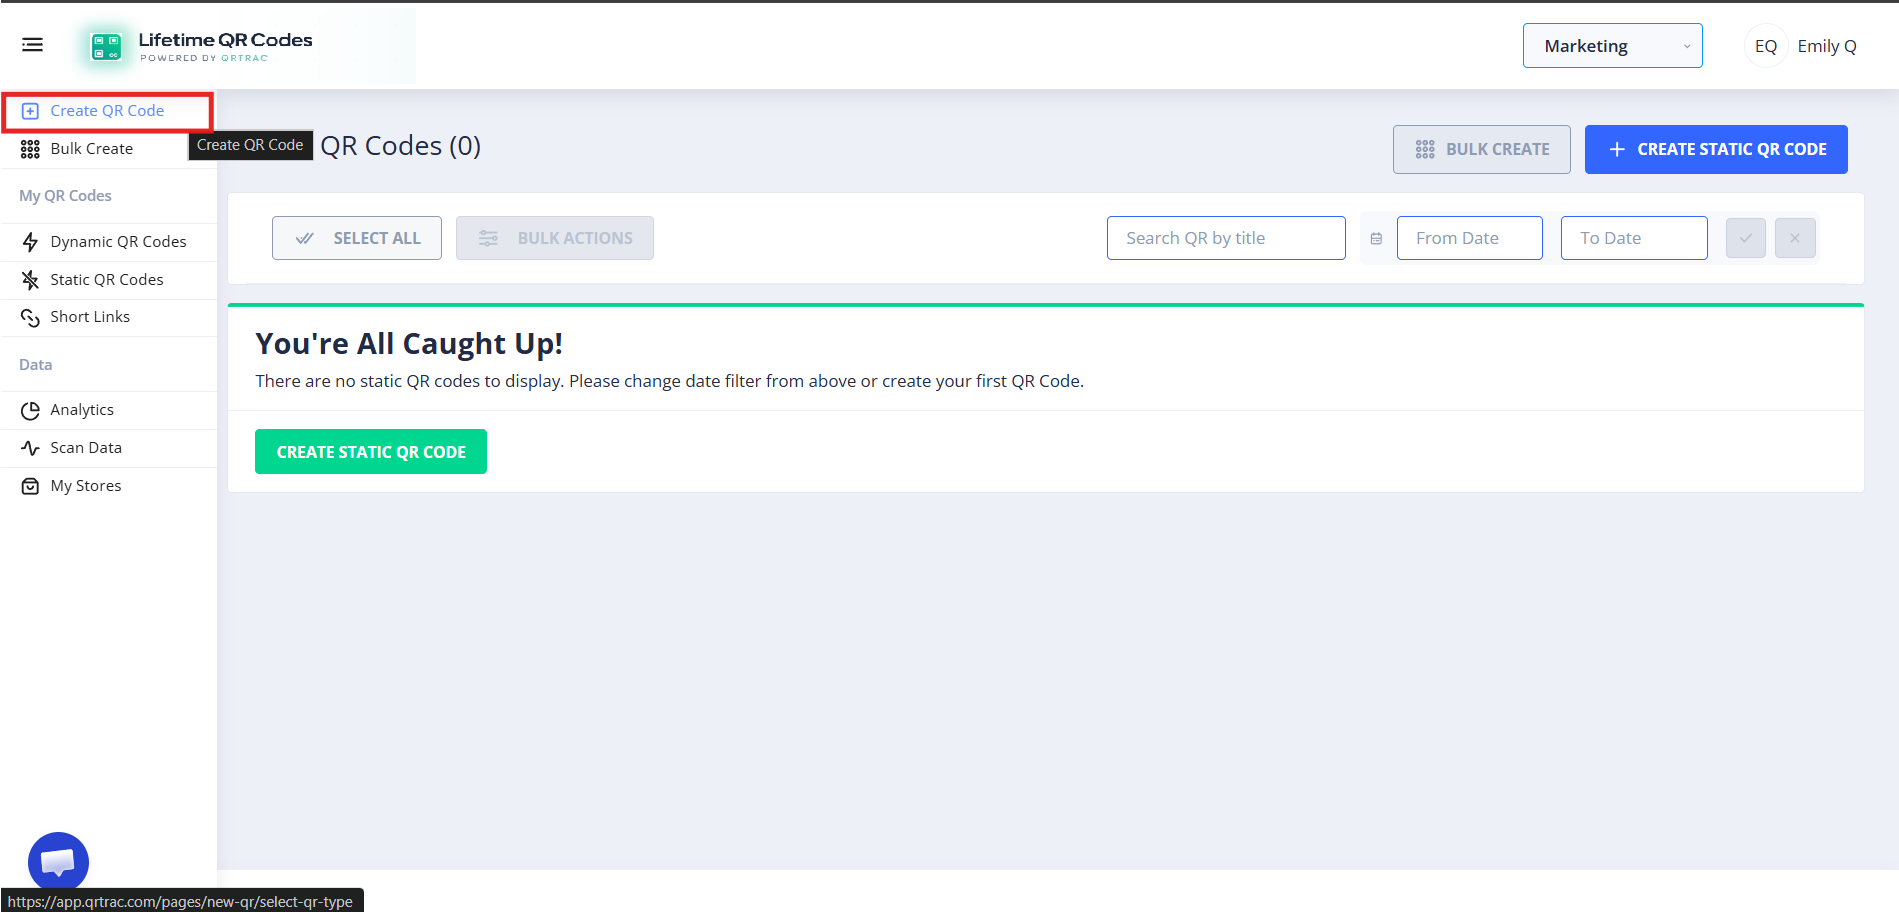
- Login to your Lifetime QR Codes dashboard
- Click Create QR Code
Step 2: Select "Mini Site"
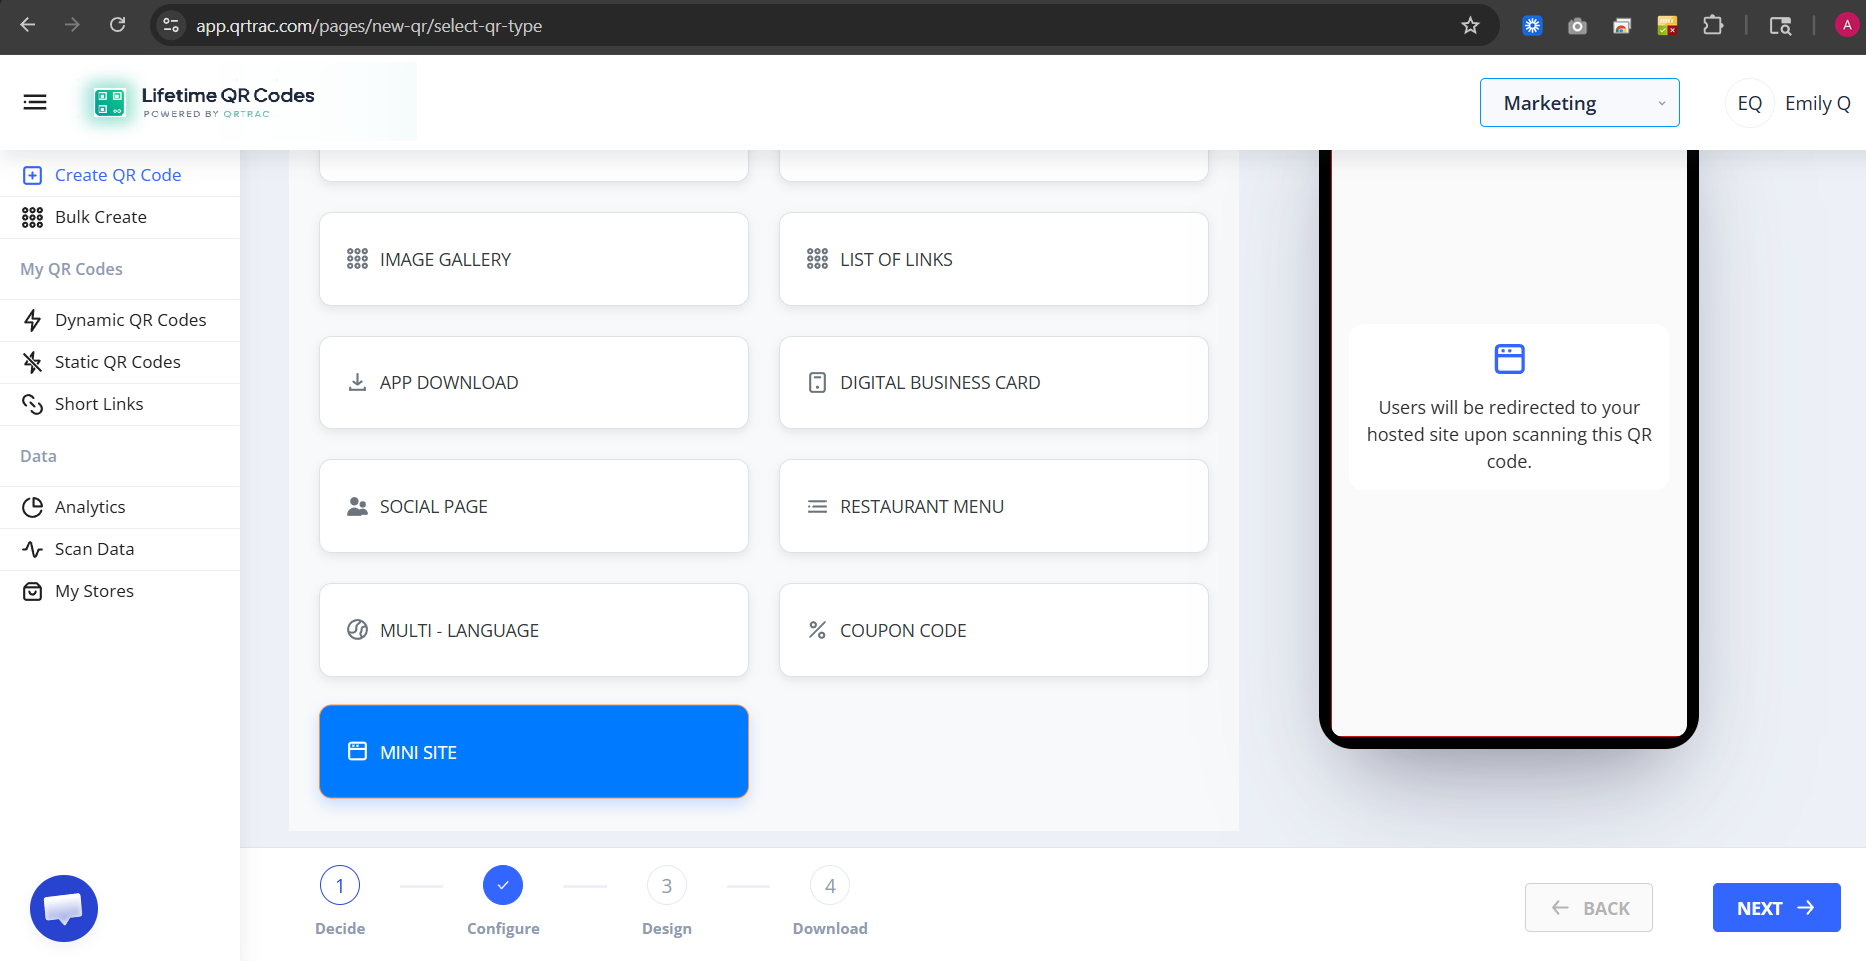
- From the QR types list, choose Mini Site
- Click Next
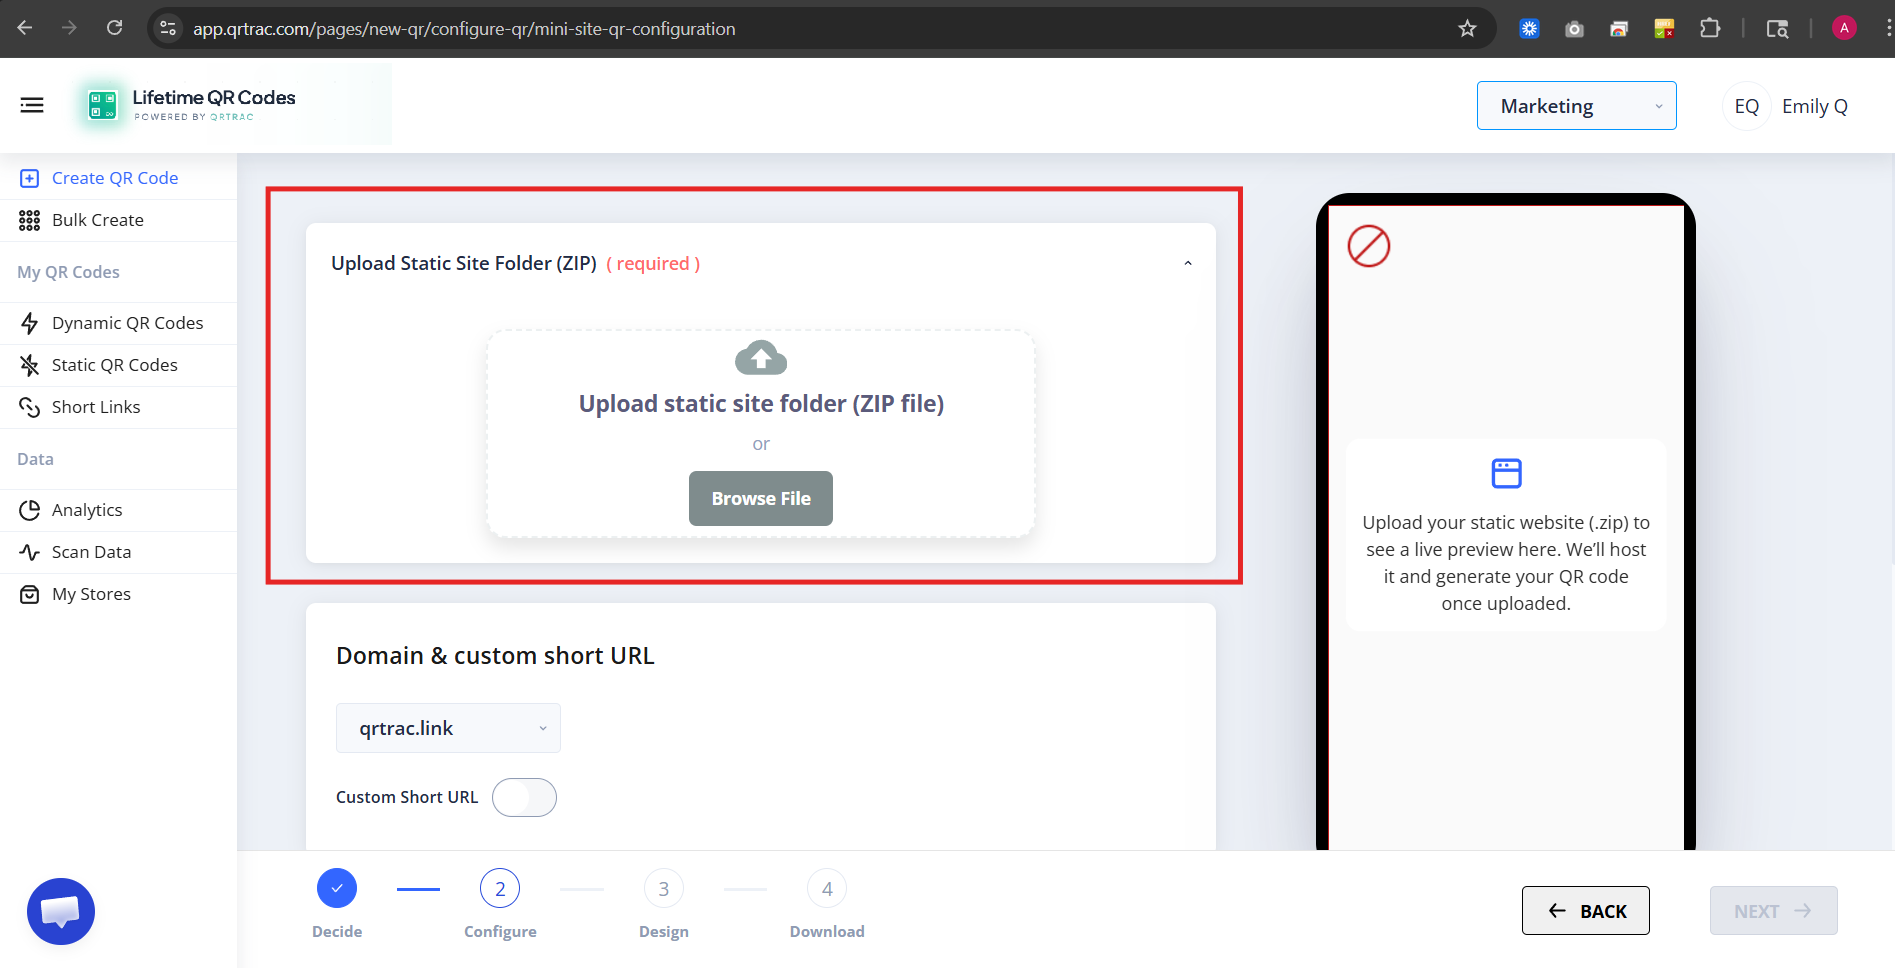
Step 3: Upload Your Mini Site ZIP File
Now you will see the upload section. Compress your website folder into a .ZIP file with index.html in the root (not inside a subfolder), then:
- Click Browse File
- Upload the ZIP file
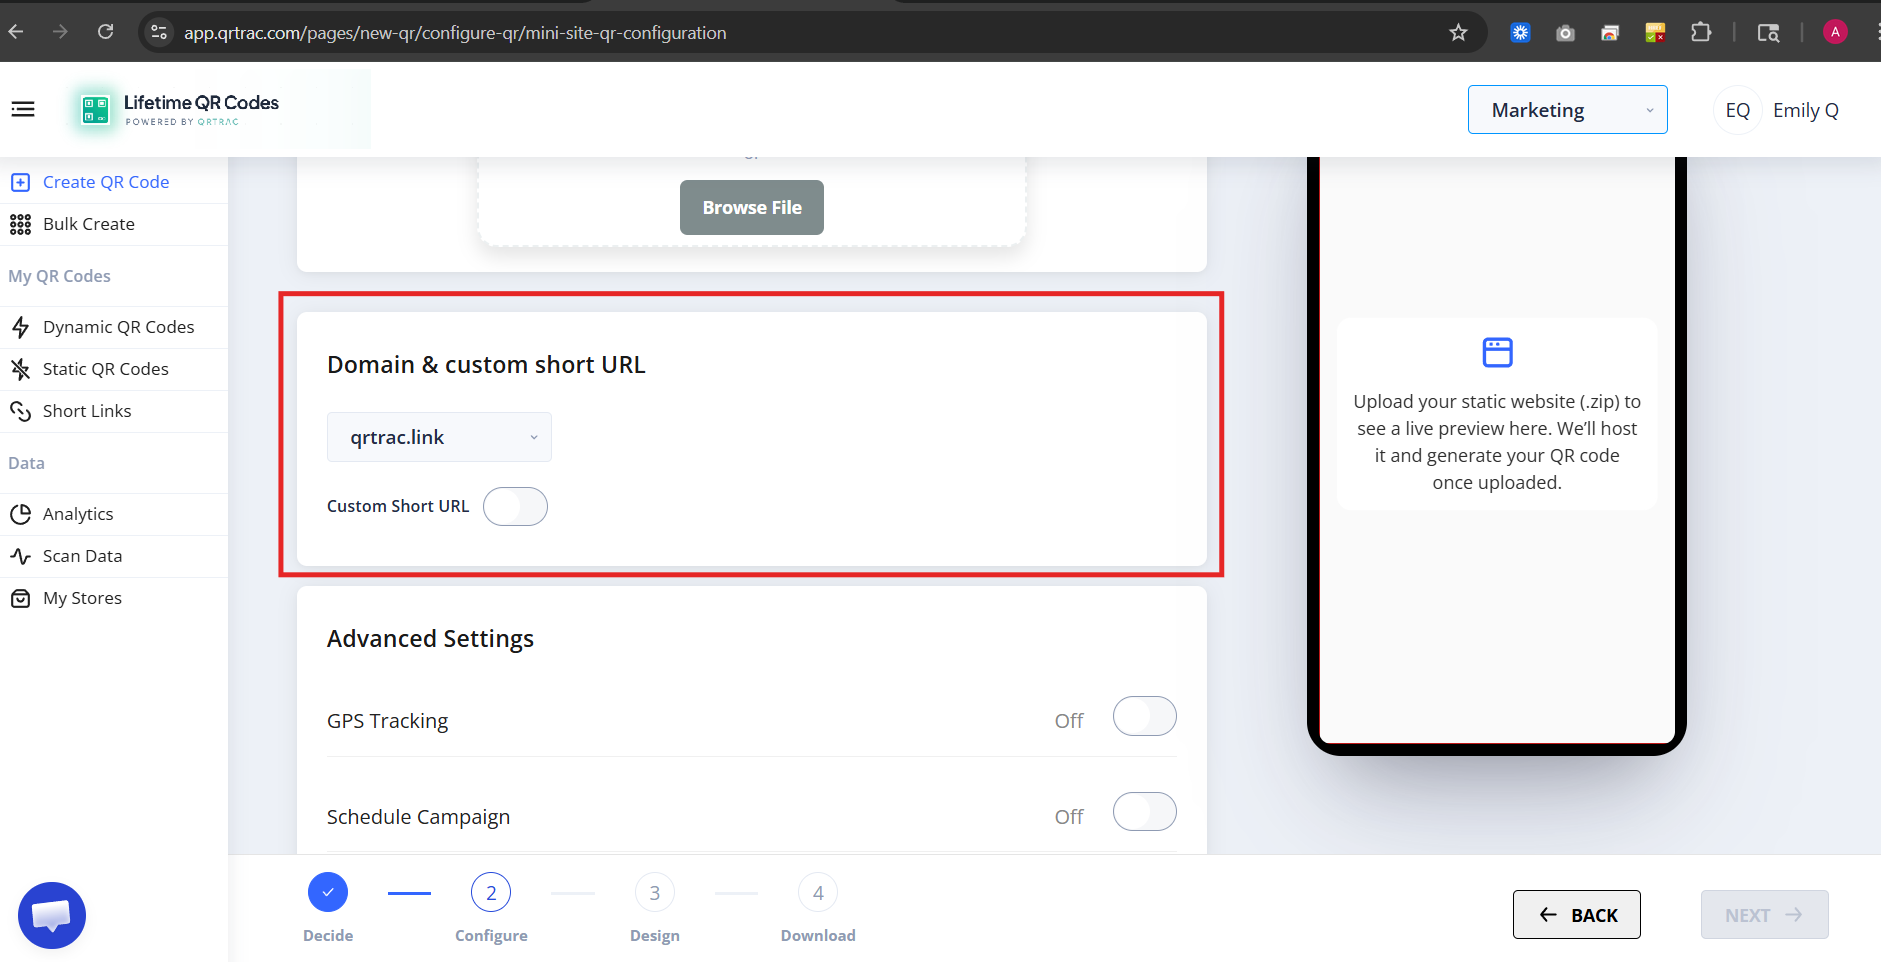
Step 4: Set Domain & Short URL (Optional)
You can choose:
- Default Lifetime QR Codes domain
- Custom domain (if connected)
- Custom short URL
This helps create a clean, branded link — for example: qr.yourbrand.com/profile.
Dynamic QR — No Reprinting Needed
Update your mini site by uploading a new ZIP file at any time from the Lifetime QR Codes dashboard. Your printed QR codes keep working — no reprinting required.
Step 5: Advanced Settings (Optional)
You can enable:
- GPS tracking
- Campaign scheduling
- Expiry settings
- Analytics tracking
These features help track and manage campaigns better.
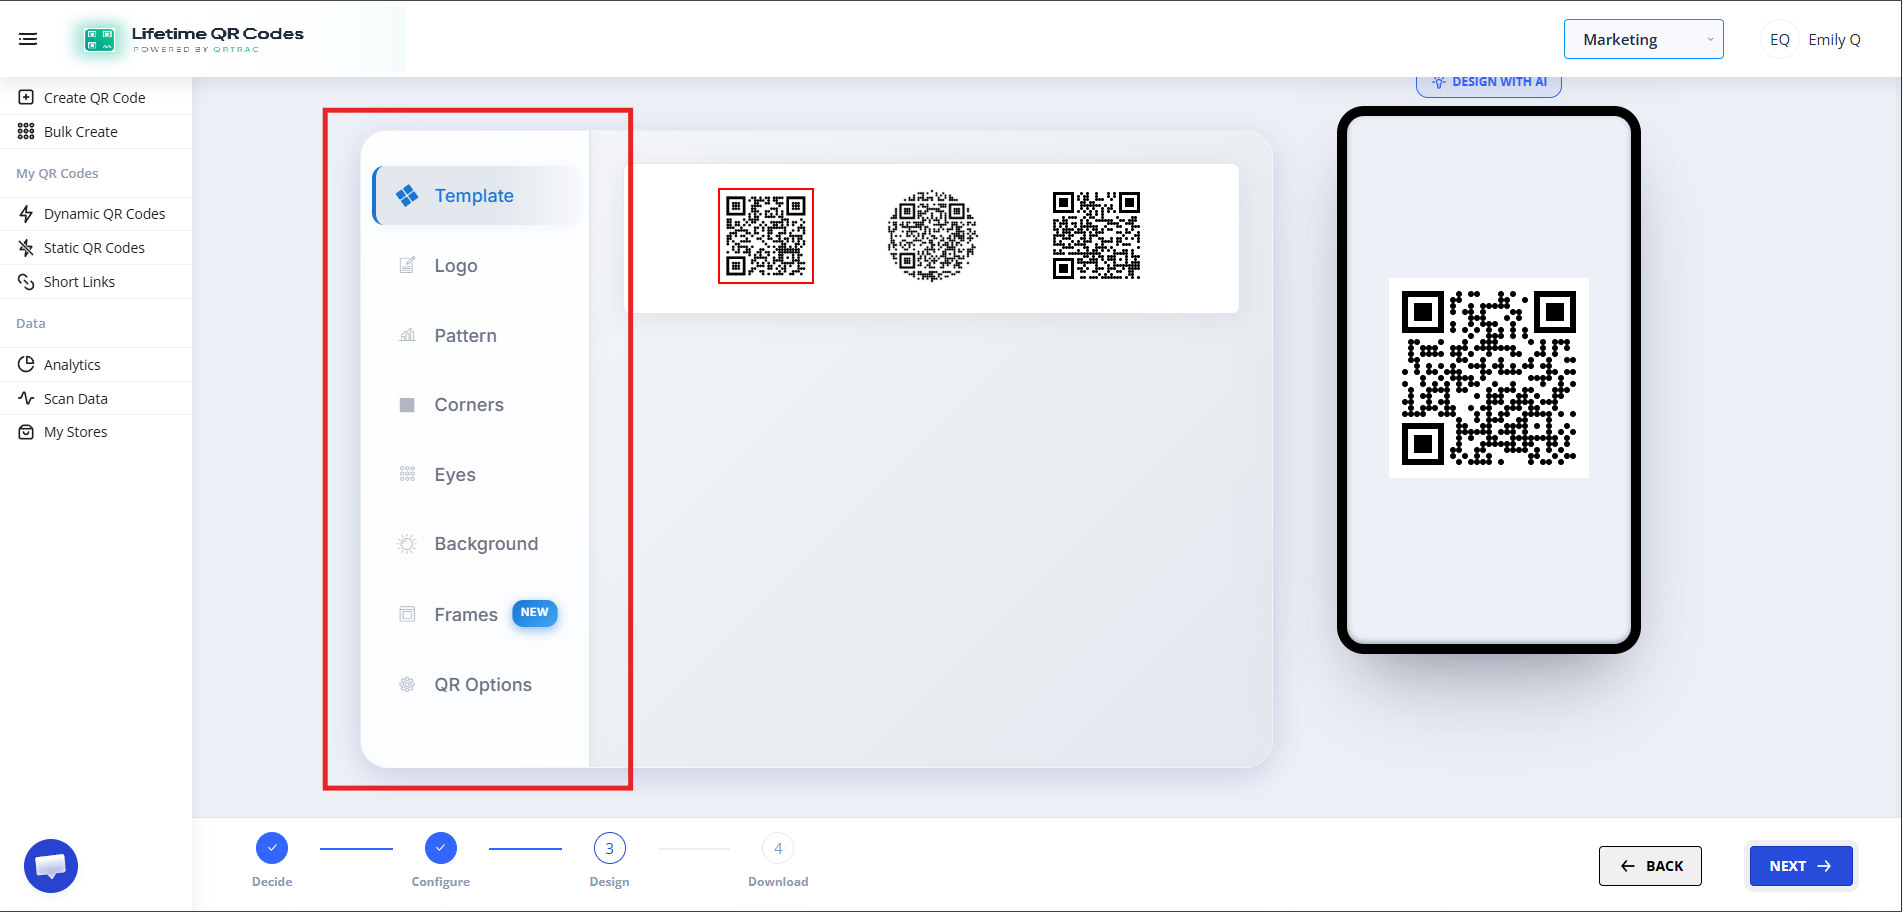
Step 6: Click Next → Design Your QR
After upload, click Next to move to the Design section. Here you can:
- Change QR color
- Add your logo
- Customize eye style
- Change shape
- Set background
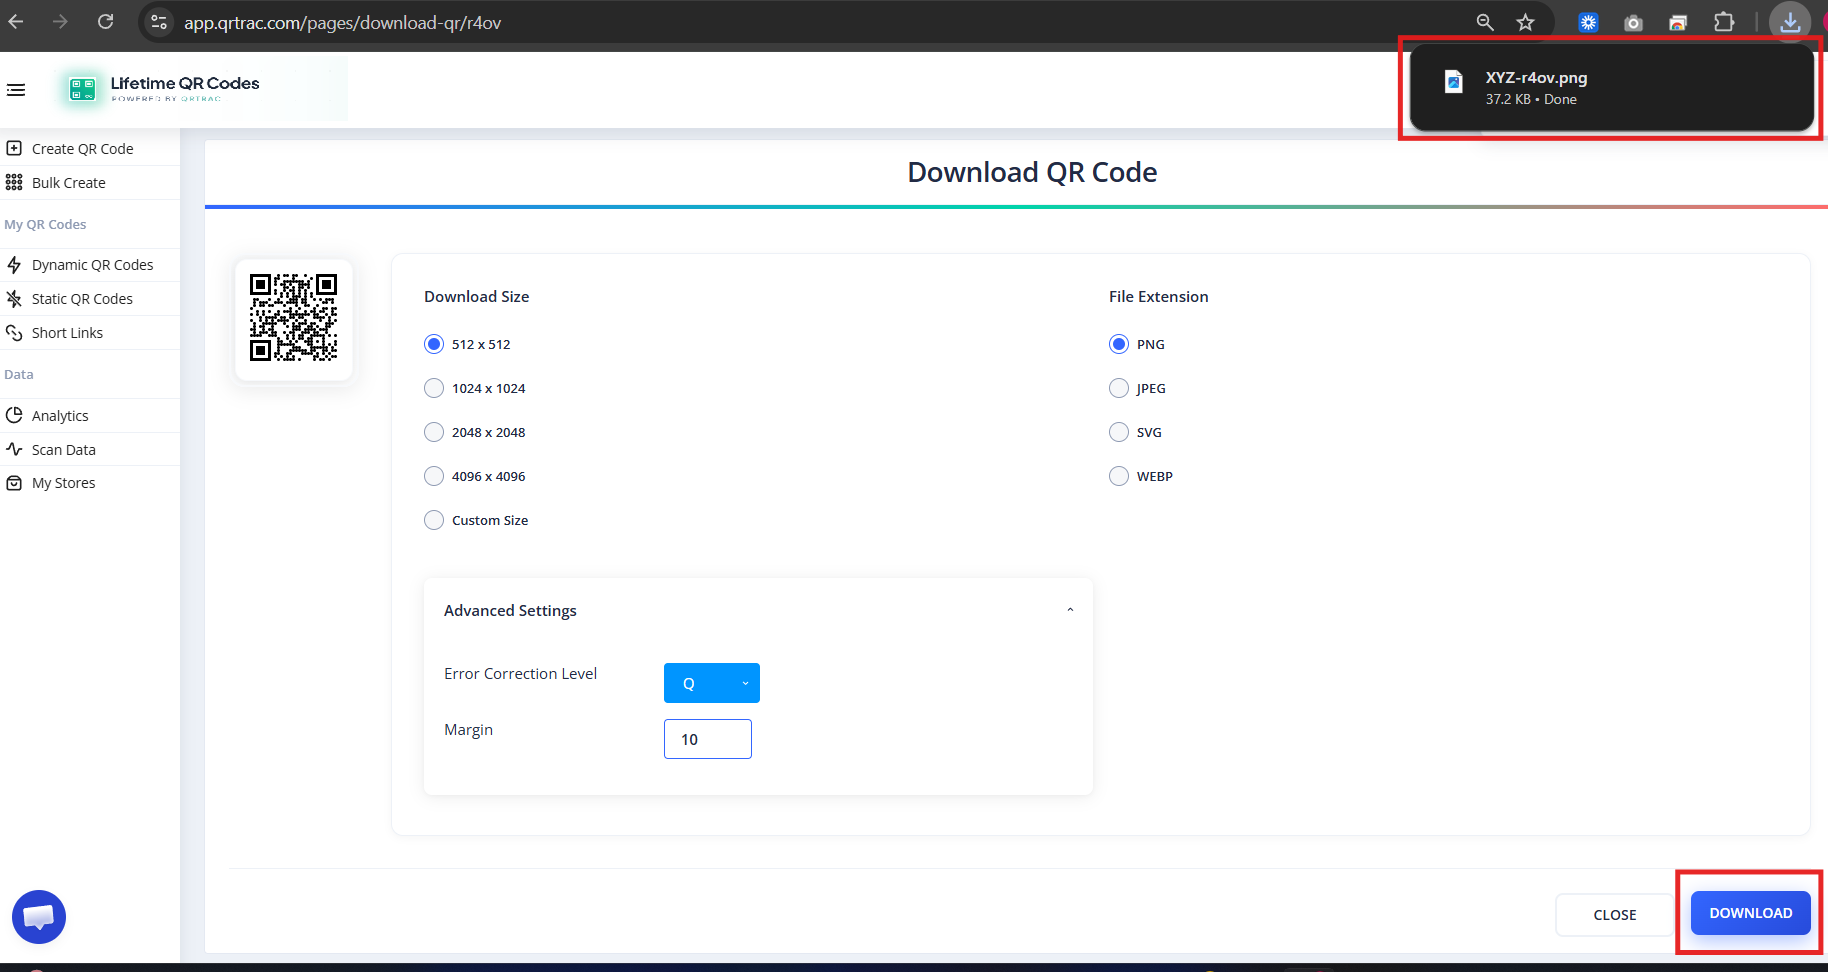
Step 7: Review & Download
- Click Next
- Preview your QR code
- Click Download
Download formats available: PNG, SVG, PDF.

Tip: Always test your QR code with a smartphone camera straight from your computer monitor before you download and print it.
Frequently Asked Questions
Can I update my details later?
Yes. Because this is a Dynamic QR Code, you can log into your Lifetime QR Codes dashboard and update your destination information at any time without needing to reprint the physical code.
Can I track how many people viewed my code?
Absolutely. The analytics dashboard provides real-time data on scan volume, unique visitors, and geographic locations.
Does it work offline?
No, an internet connection is required for the scanner to load your digital profile and download the destination file.
Common Mistakes
- ❌ Placing index.html inside a subfolder instead of the ZIP root.
- ❌ Forgetting to include all asset files (CSS, images, JS) in the ZIP.
- ❌ Not making the site mobile-responsive before uploading.
Launch Checklist
- index.html confirmed in ZIP root
- Site tested on mobile browser
- QR code scanned and site loads correctly